Are the Project Settings you were looking for not showing in Lineardraft? Check out these quick fixes before submitting a ticket!
Open Lineardraft Desktop, and check to see if there is a green tick next to Lineardraft Core. If there's an orange warning triangle, your version is out of date, so click the install button to update. Full instructions for updating Lineardraft Core here.

Step 1: Click on the 'About' button in the 'Lineardraft' section of the Lineardraft toolbar

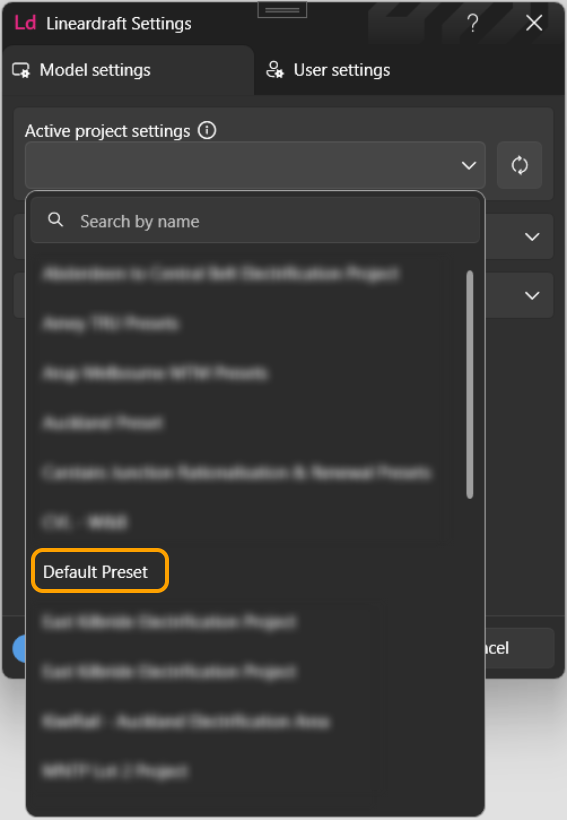
Step 2: Choose your desired project settings from the 'Active project settings' drop-down menu
You can also search for your project settings by name using the search bar.

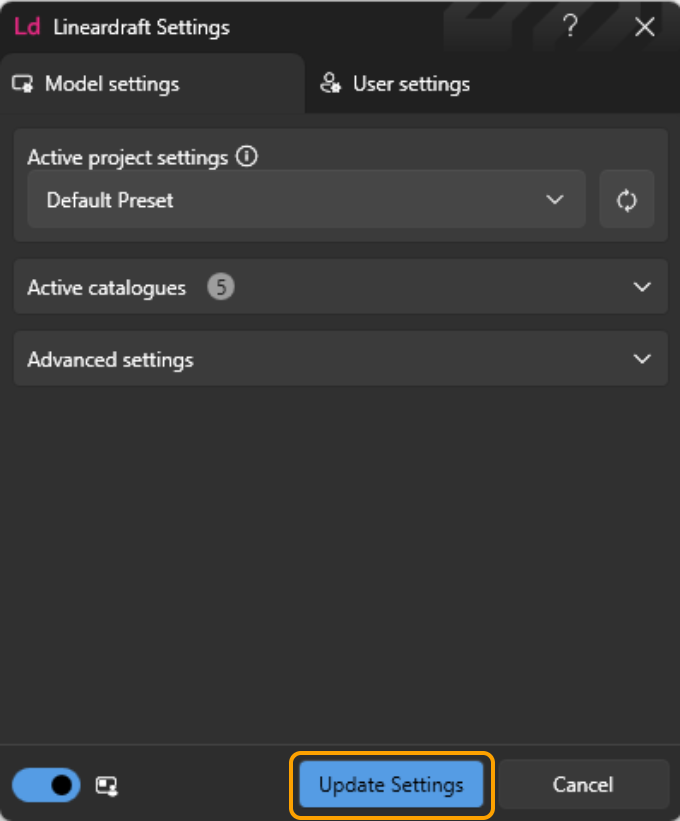
Step 3: Click 'Update Settings'

Please note: Changing your active project settings will rebuild your entire model which may take time.
Open Lineardraft Desktop and check to see if there is a green tick icon next to your desired Project Settings. If there is, they are downloaded and ready to use.
If there is a yellow 'i' icon, you need to download the Project Settings by clicking the 'Sync' button. Full instructions for downloading Project Settings here.

If the desired Project Settings do not appear in your Lineardraft Desktop this may be because you do not have them attributed to your license. If this is the case, you will need to ask your License Administrator to submit a ticket requesting they be assigned to your license.
If you are a License Administrator, you will need to include these minimum requirements in your ticket submission.
Not fixed yet? If you've tried all the fixes above and you're still having problems, go ahead and create a ticket so one of our experts can look into it for you!